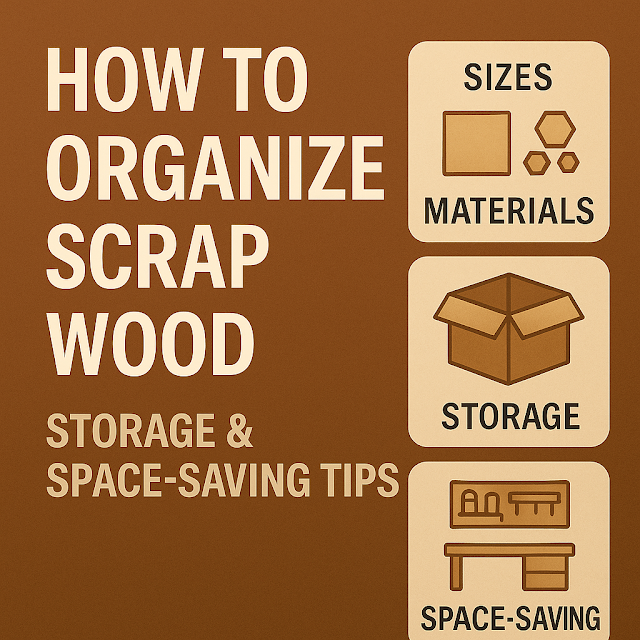
How to Organize and Store Scrap Wood from Laser Cutting – Space-Saving Tips for Your Workshop
If you work with laser cutters or do woodworking, you’ve probably built up a pile of scrap wood—MDF, plywood, acrylic—you name it. These pieces seem useful “someday,” so you save them. But fast forward a few weeks (or months), and suddenly your workspace is cluttered, and it’s hard to find what you need.
In this post, you'll learn how to organize, store, and make the most of your scrap wood without wasting time or space. These are practical, beginner-friendly methods to streamline your workshop and reuse materials effectively.
1. Why Scrap Wood Organization Matters
Scrap wood may seem harmless, but without proper organization, it quickly becomes a productivity killer.
Let’s break down why tidying up those pieces is more than just a cosmetic improvement:
-
✅ Save time: When you need a small piece for testing or a quick project, digging through a messy pile wastes valuable minutes.
-
✅ Avoid material waste: You might forget you already have a usable scrap and cut from new stock unnecessarily.
-
✅ Free up space: A clean workspace helps you stay focused and creative, boosting efficiency overall.
Think of organizing scrap wood as a simple upgrade that pays off repeatedly in time, cost, and stress reduction.
2. Set Clear Categories for Sorting
Good organization starts with a clear system. These are some effective ways to sort your scrap materials:
-
By material: MDF, plywood, acrylic, etc.
-
By thickness: 2mm, 3mm, 5mm, etc. (important for laser power settings)
-
By size: Over 10cm, 5–10cm, under 5cm
-
By purpose: Test cuts, craft projects, educational kits
📌 Label everything!
Whether you use a label printer or a marker, clearly marking bins or boxes helps you find the right material fast. Consistent labeling is essential for long-term success.
3. Best Storage Ideas for Small Spaces
✅ Transparent Drawer Cabinets
Use clear plastic drawer systems (from IKEA, Daiso, or Amazon) to store different materials and sizes. You’ll see everything at a glance.
✅ DIY Folder or Cardboard Box System
Use old paper trays or cardboard boxes with dividers. Label them by thickness or size. A4-size trays fit many scrap shapes perfectly.
✅ Wall-Mounted Racks or Mesh Organizers
Running out of floor space? Go vertical. Use pegboards or hanging file racks near your workstation for easy access.
✅ Build Your Own Scrap Organizer
Use your own leftover wood to create a vertical divider box or rack. Slot scraps in by size or type. It’s sustainable and cost-free!
4. Keep Your Most-Used Scraps Within Reach
Don’t bury your frequently used materials. Create a “test bin” near your laser cutter or desk with your go-to scraps:
-
✅ Recommended: 2mm and 3mm MDF or plywood for test cuts
-
✅ Bonus: Engrave power/speed settings on the scrap to reuse for calibration later
This small habit improves your workflow and prevents unnecessary waste.
5. Daily Habits to Maximize Scrap Reuse
Just having a storage system isn’t enough. These practical habits will keep your scraps useful:
-
✅ Check your scrap box before starting a new project
-
✅ Save clean, test-verified pieces for future reference
-
✅ Sort tiny scraps (<5cm) into a mini test bin for engraving trials
-
✅ Schedule monthly cleanups and rotate old stock
-
✅ Discard or donate pieces you haven’t used in 3+ months
Think of scrap wood as perishable inventory. Without regular checks, it piles up and becomes clutter. But with rotation, it becomes a powerful resource.
6. How to Dispose of Scrap Wood Properly
Not every piece is worth saving. Burnt edges, warped materials, and tiny offcuts can clutter your space. Here’s how to dispose of them responsibly:
✅ When to toss
-
Pieces smaller than 3cm
-
Deeply charred or smoke-damaged materials
-
Moldy or water-damaged wood
✅ Disposal tips
-
Small MDF/plywood scraps: local trash (check if your area requires stickers for disposal)
-
Painted, glued, or treated wood: follow your city’s special waste guidelines
✅ Alternative: Donation or Freecycle
-
Contact local schools, craft centers, or makerspaces for donation
-
Offer clean scraps on community forums (Facebook Marketplace, Craigslist, etc.)
-
Use as paint testers or for kids' crafts
Being mindful about disposal not only keeps your space clean—it supports others in your creative community.
Final Thoughts
Scrap wood isn’t junk—it’s potential waiting to be used. With a clear system, thoughtful storage, and regular cleanup, you can turn leftover material into a daily asset.
Organizing your scraps today means faster builds, less waste, and a calmer workspace tomorrow.
Why not take 30 minutes today and transform your creative mess into an efficient system?

Comments
Post a Comment